Beauty

STEP 1
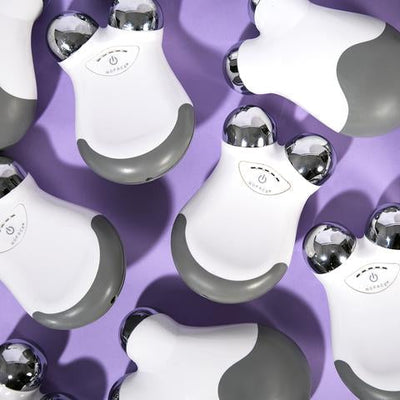
To achieve real contouring and lasting results you need to start from the inside. The NuFace Trinity Facial Trainer is the perfect device to ensure just that. Coined as the ‘5 minute facelift’ this non invasive device seamlessly improves facial contour, skin tone and decreases wrinkles. Sending safe and gentle waves of microcurrents through your skin into the facial muscles, energising them and creating an instant lift. Saving you the hassle of going to a salon for a costly treatment, the NuFace allows you to contour from the comfort of your own home. Tempted? Get your very own NuFace
STEP 2
STEP 3
For maximum contouring effect, use your Clarisonic brush head to apply a contour cream. We would recommend using a colour no more than two shades darker than your natural skin tone. Remember those tiger stripes we were talking about? Not a good look, so keep it natural. Another top tip is too ensure the contour cream is matte. You’re trying to achieve depth and any bronzer with glitter in will reflect light, so save the shimmer for your highlighter. Gently pat the contour cream under your cheekbones, along your jawline, on your forehead above your temples and on the sides of your nose. Then take your Clarisonic Foundation Brush and start from the middle of your ear, moving towards the corner of your mouth, stopping mid cheek, building up to the desired effect of definition.
STEP 4
Add a subtle glow, by choosing your favourite cream highlighter and again applying with your Clarisonic Foundation Brush Head. Apply above your cheekbones, on your nose and above your eyebrows, for the perfect sunkissed look. If you’re confused about the exact placement, simply smile with your mouth closed and apply on the area of the cheeks that puff up when you do so, then blend above and around your eye.
And voila, you know have a beautiful contoured face, achieved in minutes and perfectly blended.


